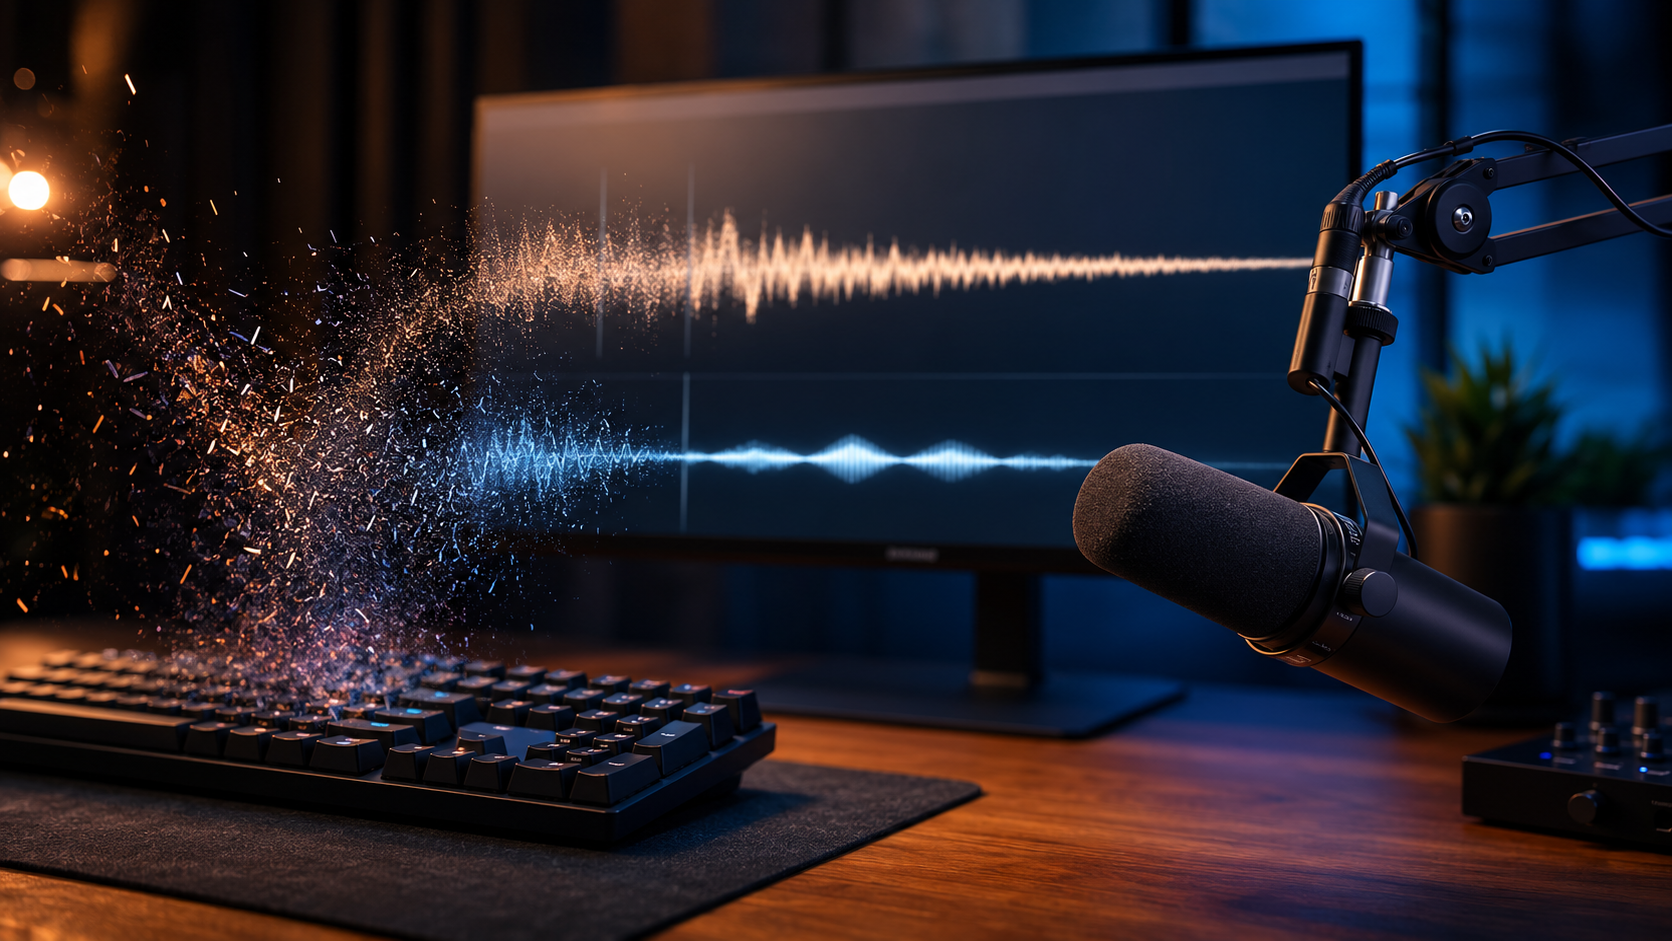
Keyboard noise can often be reduced, but not every recording can be made perfectly clean. The easiest clicks to remove are those that occur during pauses. The hardest are loud keypresses that land directly on top of speech.
Once voice and keyboard noise have been recorded together on one track, software has to estimate which sound belongs to which source. That process can work very well, but aggressive treatment may damage consonants, thin the voice or create metallic artefacts.
A good result is not necessarily complete silence. It is a recording in which the voice remains natural and the keyboard is no longer distracting.
Quick Reality Check
Keyboard noise is usually easier to reduce when:
- the microphone is close to the speaker;
- the voice is louder than the keyboard;
- the typing is occasional rather than continuous;
- the microphone is isolated from the desk;
- the recording has not clipped or distorted.
It is harder when:
- a loud mechanical keyboard is used;
- the speaker is far from the microphone;
- microphone gain is high;
- typing overlaps nearly every word;
- the microphone stand sits on the same desk as the keyboard;
- desk vibration creates low thumps as well as clicks.
If a keypress completely masks a syllable, no tool can recover the original speech with certainty. It may be possible to improve the section, but re-recording a short sentence is often the better option.

Why Keyboard Noise Is Difficult to Remove
Keyboard noise is not steady. It consists of short, sharp transient sounds that change from one keypress to the next.
A fan, hiss or electrical hum is more predictable. Traditional noise reduction can analyse that steady pattern and reduce it throughout a recording. Typing is irregular, and each impact may contain several elements:
- a sharp click from the key mechanism;
- a heavier knock when the key bottoms out;
- vibration travelling through the desk;
- resonance from the keyboard case or work surface.
Some of these sounds occupy the same frequency range as speech. Sharp consonants such as T, K and P can resemble the attack of a keypress. Strong processing may therefore remove part of the voice along with the keyboard.
This is why keyboard noise often survives ordinary noise reduction, while the speech becomes dull or artificial.
Prevent Keyboard Noise Before Recording
Prevention usually produces a better result than trying to repair a poor recording afterwards.
Move the microphone closer
Place the microphone closer to your mouth and reduce the gain. A stronger voice signal gives software more useful information and makes the keyboard relatively quieter.
Do not simply lower the gain while leaving the microphone far away. That will make both the voice and keyboard quieter without improving the balance between them.
Point the microphone away from the keyboard
A directional microphone should face the speaker and reject as much sound from the keyboard as possible. Position it beside or slightly in front of your mouth rather than behind the keys.
Built-in laptop microphones often perform badly because they sit close to the keyboard and far from the speaker.
Remove the microphone from the desk
A desktop microphone may receive each keystroke through the stand as well as through the air.
Use:
- a boom arm;
- a floor stand;
- a separate surface;
- a shock mount;
- a thick desk mat.
A shock mount will not block airborne clicks, but it can reduce vibration transmitted through the desk.
Type more lightly
Bottoming out every key creates a heavier impact. A lighter typing style can make a noticeable difference.
Mechanical keyboard users may also consider:
- quieter switches;
- dampening rings;
- a less resonant keyboard case;
- a softer desk mat;
- a quieter keyboard during recording sessions.
Reduce typing during narration
Prepare documents, applications and browser tabs before recording. Avoid searching, renaming files or entering long passages of text while speaking.
For scripted tutorials, consider recording the screen demonstration first and adding narration afterwards. This produces much cleaner speech and allows mistakes to be corrected more easily.
Record a short test
Record thirty seconds containing normal speech and normal typing. Listen through headphones before starting a long session.
This simple check can reveal:
- excessive keyboard volume;
- desk vibration;
- clipping;
- poor microphone placement;
- high background noise;
- weak speech levels.
Fixing the setup before recording is much easier than repairing an hour of bad audio.
Post-Production Options
There is no single perfect tool for every recording. The best method depends on how much typing is present and whether it overlaps speech.
Option 1: Manual Editing
Manual editing works well when the recording contains only a small number of isolated clicks.
In an audio editor, you can:
- reduce the volume of individual clicks;
- replace a click with nearby room tone;
- cut silent sections containing typing;
- repair a short waveform disturbance;
- mute clicks between spoken phrases.
This method gives precise control, but it becomes impractical when a long tutorial contains hundreds or thousands of keypresses.
Use manual editing for occasional problems, not continuous typing.
Option 2: A Noise Gate
A noise gate reduces audio below a chosen volume threshold. It can make silent gaps cleaner by hiding low-level keyboard noise when the speaker is not talking.
A gate is useful when:
- the voice is much louder than the keyboard;
- typing happens mainly during pauses;
- the speaker stays close to the microphone;
- live processing is required.
A gate does not separate speech from keyboard noise. When the speaker talks, the gate opens and allows both sounds through.
Setting the threshold too high may:
- cut off quiet words;
- remove sentence endings;
- make the audio pulse;
- create abrupt changes in room ambience.
Use a gate to clean pauses, not to remove typing that overlaps speech.
Option 3: Traditional Noise Reduction
Traditional noise reduction is best suited to steady sounds such as:
- fan noise;
- hiss;
- hum;
- air conditioning;
- continuous room noise.
It can help if the recording contains a constant background layer beneath the keyboard. It is less effective against individual keypresses because they are brief and unpredictable.
Applying stronger reduction may leave the clicks intact while damaging the voice. Common side effects include:
- metallic speech;
- softened consonants;
- hollow tone;
- watery artefacts;
- changing background ambience.
Traditional noise reduction can still be useful as part of a broader cleanup, but it is rarely the complete solution for continuous typing.
Option 4: Speech-Focused Noise Removal
Modern speech-focused tools attempt to preserve dialogue while reducing sounds that do not resemble speech. These tools may be browser based, desktop based or built into editing software.
They are often more effective for keyboard noise because they analyse the voice rather than relying only on a static noise profile.
They can work well for:
- screen recordings;
- gaming commentary;
- online lessons;
- software tutorials;
- webcam videos;
- interviews;
- voiceovers;
- recorded meetings.
Results still depend on the source recording. Loud keypresses that overlap quiet speech may leave traces or cause brief artefacts.
Always keep the original file and compare several sections before accepting the result.
Option 5: Combined Processing and Manual Repair
A combined workflow is often the most efficient.
First, use speech-focused processing to reduce the majority of the keyboard noise. Then open the cleaned recording in an audio editor and repair the few clicks that remain.
This avoids manually editing every keypress while preserving control over difficult moments.
A practical sequence is:
- Process the original recording once.
- Compare the result with the source.
- Keep the version with the most natural voice.
- Repair only the worst remaining clicks.
- Re-record short sections that cannot be repaired cleanly.
Removing Keyboard Noise From Video
Keyboard noise in a video exists in the audio track. The visual track does not need to be changed.
There are two common workflows.
Process the complete video
Some tools can accept the video directly, clean the audio and return a finished video file. This is the simplest option because there is no need to extract and replace the soundtrack manually.
Process the audio separately
For unsupported formats or editing projects:
- Export the audio from the video editor.
- Process the audio.
- Import the cleaned version.
- Align it with the original track.
- Mute the untreated audio.
- Check synchronisation.
- Export the finished video.
Do not trim or change the duration of the processed audio unless you intend to realign it manually. Small timing changes can create obvious lip-sync problems.
Mechanical Keyboards, Laptop Keyboards and Mouse Clicks
Mechanical keyboards are often harder to clean because they may produce a sharp click, a heavy impact and case resonance from one keypress.
Laptop keyboards can be quieter in the room but louder in the recording because they sit close to the built-in microphone.
Mouse clicks create a similar problem. They are short, irregular sounds that often occur during speech. The same prevention methods apply:
- move the microphone closer to your mouth;
- isolate it from the desk;
- reduce gain;
- use a softer mouse mat;
- keep the mouse and microphone on separate surfaces where possible.
How to Judge Whether the Result Is Good
Do not judge the result by listening only to a silent section.
Test at least four types of passage:
- speech without typing;
- typing without speech;
- normal typing beneath speech;
- quiet speech with louder typing.
Listen for:
- remaining clicks;
- missing consonants;
- metallic or watery speech;
- unnatural volume changes;
- clipped sentence endings;
- loss of clarity;
- changes in synchronisation.
Use headphones as well as ordinary speakers. Phone speakers may hide low-frequency thumps and digital artefacts.
The most important question is simple:
Can the listener concentrate on the words without being distracted by the keyboard?
A faint remaining click may be acceptable. A badly damaged voice is not.
Common Mistakes
Using the strongest setting immediately
More processing does not automatically produce better audio. Start with moderate treatment and protect the voice.
Deleting the original file
Always keep the untreated recording until the final project has been exported, checked and backed up.
Processing the same file repeatedly
Several aggressive passes can damage speech more than one controlled pass.
Expecting a noise gate to remove overlapping typing
A gate controls volume. It does not separate sources.
Ignoring desk vibration
The keyboard itself may not be the main problem. The desk and microphone stand may be transmitting every impact.
Testing only through speakers
Headphones reveal clicks, thumps and processing artefacts more clearly.
Refusing to re-record
Re-recording one sentence is often faster than trying to repair a word completely covered by a loud keypress.
Practical Workflow
Use this sequence for the fastest reliable result:
- Move the microphone closer to your mouth.
- Lower the microphone gain.
- Point the microphone away from the keyboard.
- Isolate the microphone from the desk.
- Record a thirty-second typing test.
- Process the recording with a speech-focused noise-removal tool.
- Compare speech, pauses and overlapping typing.
- Keep the version with the most natural voice.
- Repair a few remaining clicks manually.
- Re-record any short section that remains unintelligible.
Keyboard noise is difficult because it is brief, irregular and often overlaps speech. Good microphone placement reduces the problem before it reaches the recording. Speech-focused processing can then handle much of what remains. Manual editing is best reserved for isolated clicks and difficult sections. The final goal is not total silence, but clear speech that remains comfortable to hear.